Wallpaper: Give the Nursery an Instant Texture and Flair
I’ve already written about how to put together a fun and practical nursery that grows with your baby. But as is the case with other rooms of the house, the nursery needs an upgrade too, or at least a quick instant style lift. And what better and quicker way to do it than with nursery wallpaper?
Instead of using wallpaper, I could have opted to paint the nursery. However, I’m very concerned about the dangers of volatile organic compounds (VOC) found in most interior paints. And although there are VOC-free paints available on the market, they are more expensive and more difficult to maintain clean. In other words, they are not the best choice for a nursery.
Wallpapers for nursery, specifically the ones that are cleanable, pose no such chemical concerns. Add the fact that that washable wallcoverings can be easily wiped down and sanitized, and you have a win-win combination of style and practicality. As a parent who is busy and worries about her children’s health and wellbeing, wallpaper offered me twofold advantages and some much-needed peace of mind.
There were a number of things that I had to consider when I was shopping for nursery wallpaper. Today I’ll share with you some of them to help you make the right decision for your new favourite room in your home.
Setting the Mood
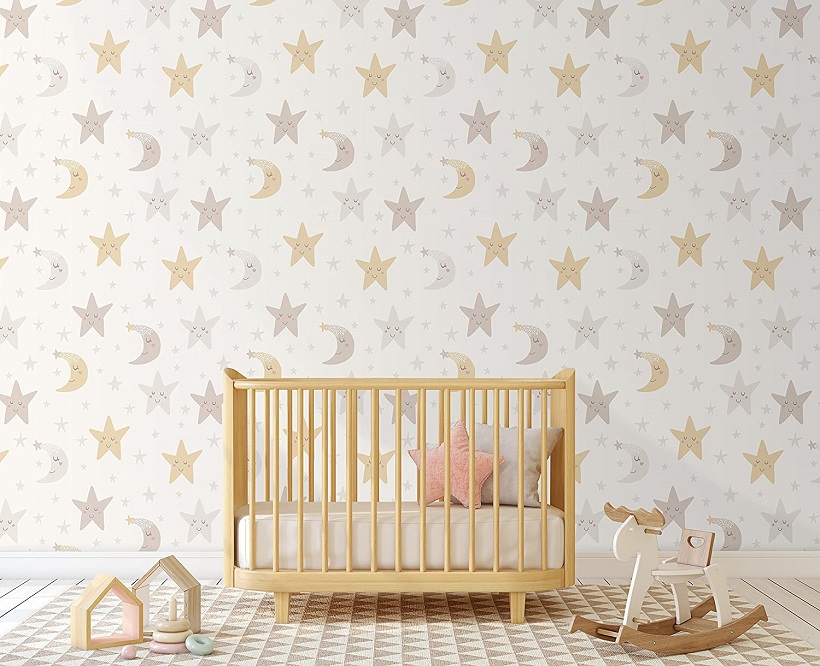
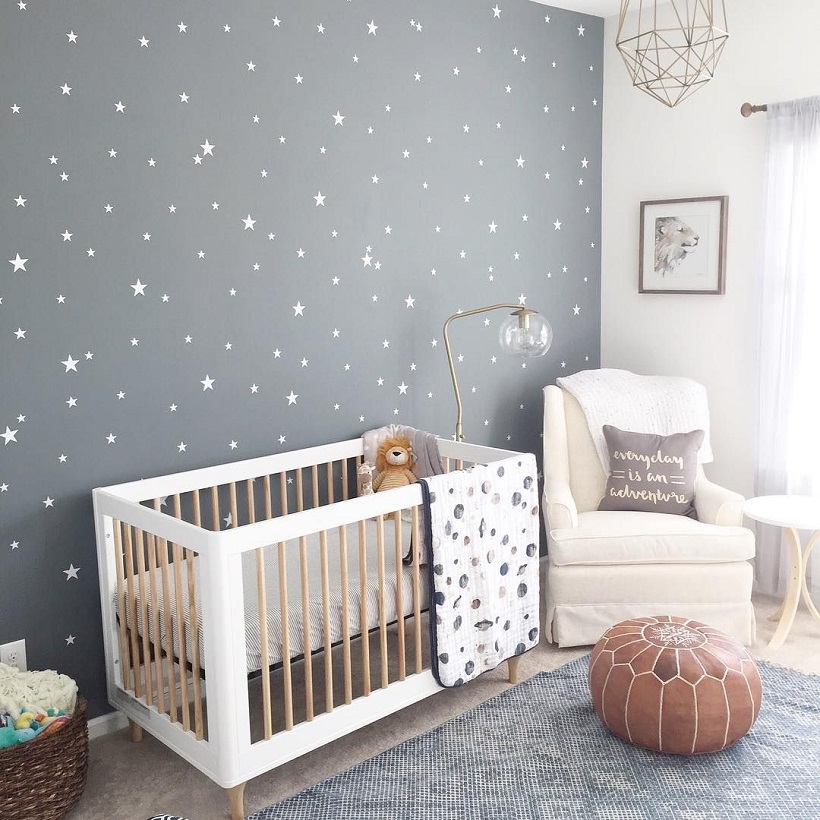
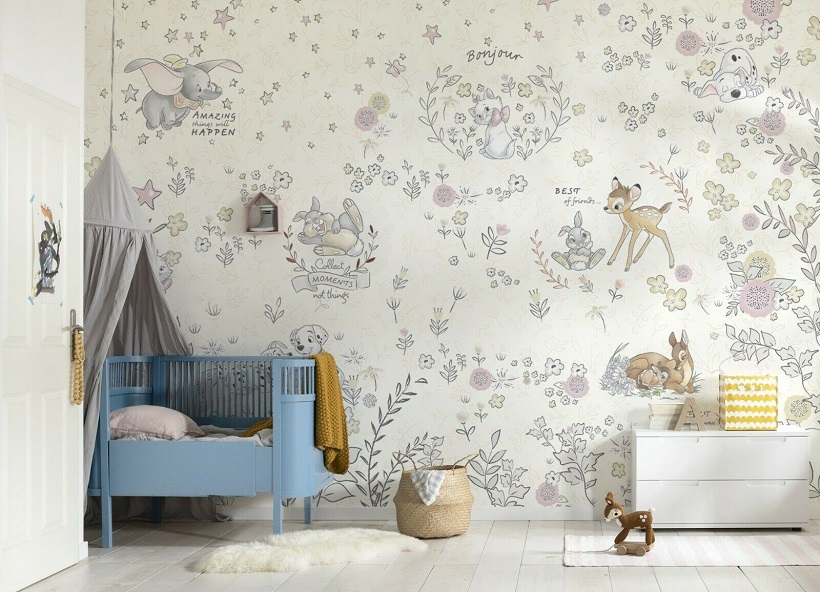
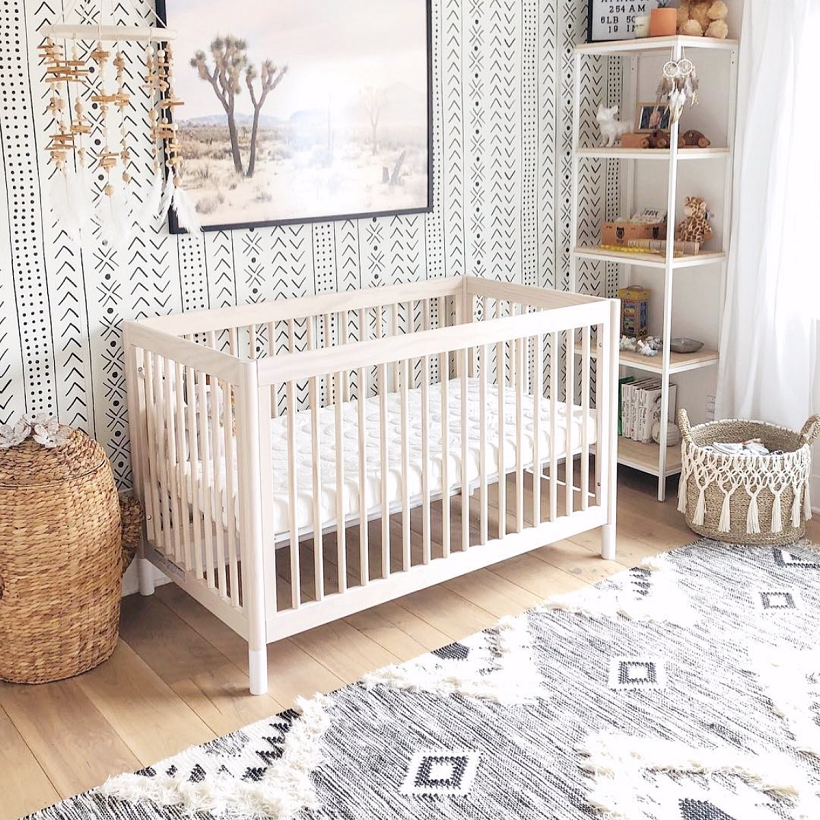
Bright colours make strong statements, but they aren’t quite what you need when decorating a nursery. Instead, look for muted, calm tones that help create a sleep-inducing atmosphere. The same applies when choosing wallpaper patterns. It’s easy to find a fun, kid-friendly print that works great as an accent wall, but putting it on all walls could be a little overwhelming and may interfere with the child’s peaceful rest. Instead of adding wallpaper on every wall, I got creative by designing one statement wall.
The Room Size
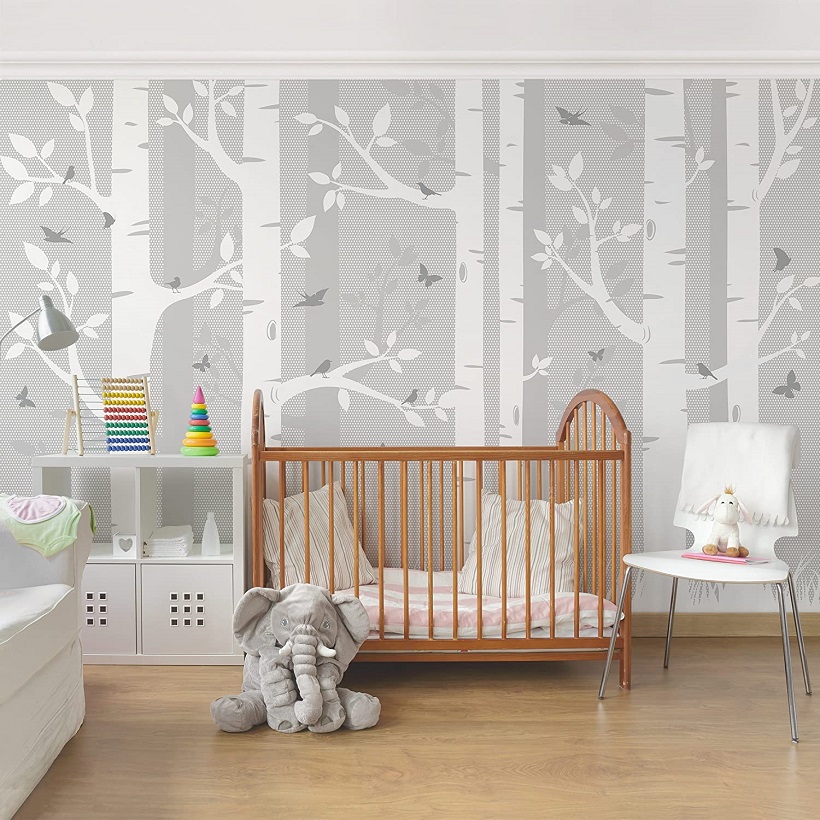
The size of the room is another important factor when choosing a wallpaper pattern. When it comes to how to choose wallpaper for small bedroom, you need to choose a design that doesn’t take over the space and makes it feel even smaller. The nursery’s furniture generally occupies most of the space, so you need colours and designs that make the room feel larger. So, I limited my options to vertical-oriented patterns and light colours.
Durability
The wallpapers available on the market today aren’t just paper. Now, you can get peel-and-stick wallpaper, paintable wallpaper, vinyl wallpaper and others. A smart option that I’ve made was choosing a vinyl wallpaper that is easy to clean. So now, any messes that happen in that room I can clean easily by just using water, soap and a sponge.
Long Term
I knew that, eventually, the nursery will become a toddler’s room, then a child’s bedroom. So, instead of choosing a wallpaper that I loved, I picked a neutral theme that I knew will appeal to everyone.
Installation
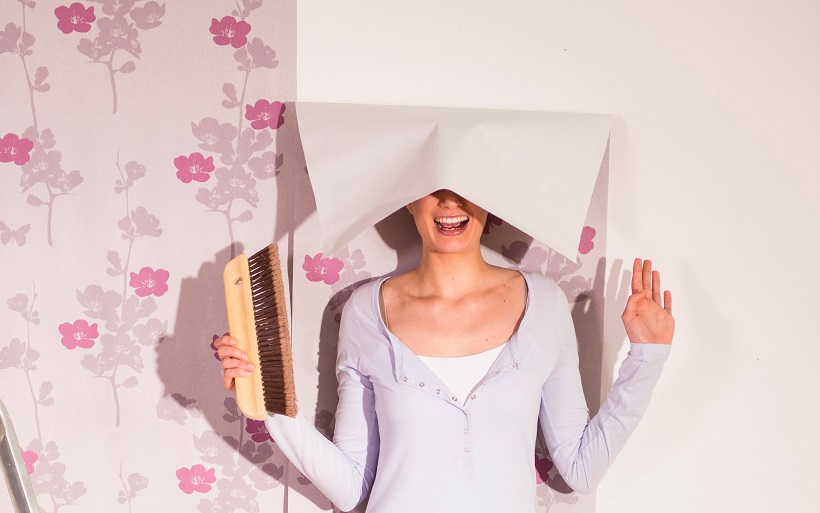
The hanging method of the wallpaper I choose was “paste the wall”. This means you paste only the wall and then directly apply the wallpaper to it. The paste that I used to fix the wallpaper to the wall was of a premium quality, light grade adhesive that is pH neutral, solvent-free and fungicide protected. The installation video my husband and I found online made the process look so easy, and maybe it should have been. However, we made a few mistakes along the way that frustrated us and cost us time. Anyway, once we figured out what exactly we needed to do to make it work, it became easier to finish the project. Now we even joke that we should start offering “paste the wall” wallpaper service in our area.
Here are a few tips that you can use if you are looking for a DIY wallpaper installation.
Count on Help
Ask your significant other, a family member or a friend for help before taking on this project. Having extra hands to help you will make things a lot easier.
Have the Right Tools
You will want to use a level when installing the first panel to see if your ceiling is actually level. Ours was not, so placing the wallpaper where the ceiling met the wall was not very successful. You will also need a smoother to push the wallpaper in a downwards motion, letting gravity take the wallpaper down where it falls naturally. In the beginning, we tried sticking one side down at a time and smoothing left to right, but this gave us an unlevel end result and a lot of air bubbles.
Figure Out the Pattern First
On the following panels, pick a focal point and match up the pattern there. Then, place the wallpaper up to the ceiling and stick it where it lands. Starting from the top may cause apage break in the pattern, which may not end up lining up exactly.